

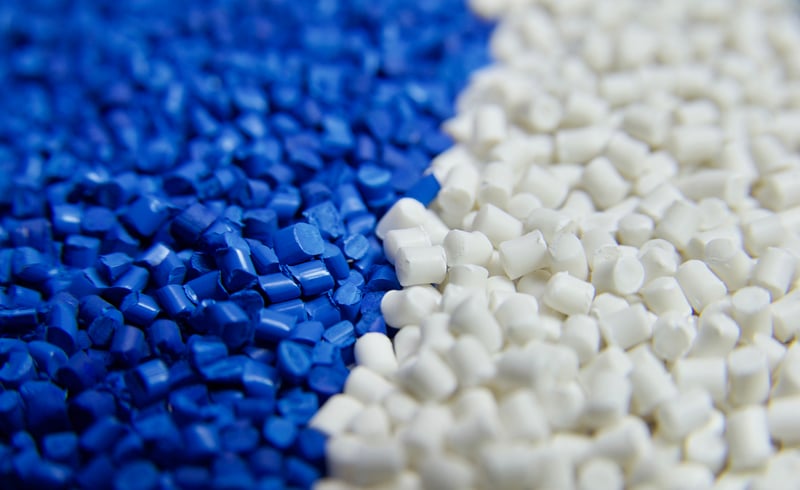
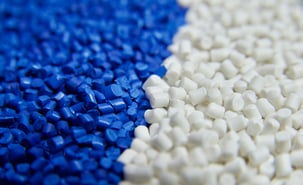
Although compounding is extrusion, it is a unique enough subset of extrusion to merit its own discussion. Compounding involves the addition of resins, fillers, stabilizers, reinforcements, and or colorants to a base resin.
What separates standard profile or film extrusion from compounding is the amount of additives introduced to the base resin – this is where compounders add their value. A typical compounding line will have multiple ports where additives are introduced to the melt. These ports are areas of low melt pressure, and are often difficult for purging compounds to clean.
Because of these differences and challenges, compounding is an area that is currently under-served by commercial purging compounds.
Here are 11 tips we share with compounding customers to make the most of their purging:
- Knowing or estimating your barrel capacity prior to purging will allow you to carefully control the amount of purge being used – typically 1-3 barrels full of product are sufficient. This will allow you to control inventory, and minimize costs.
- Rotate the screw slowly to fill the flights. Once the purge starts to extrude, increase screw speed to maximize purging compound performance. Mechanical purges are most effective at the highest safe screw speeds, where agitation and turbulence are maximized.
- Disco Purge – Stop screw rotation after the barrel and flights of the screw are full of purge, and let the molten purge sit and settle into any dead spots for a few minutes. Then start up screw rotation again, repeat several times. The drastic changes in pressure and agitation allow purges to best do their job. Chemical purges require a soak period to go through their expansion.
- Vents are low pressure areas that reduce the effectiveness of purging immediately after the vent location. Manually plug the vents during purging to increase local pressure. If plugging the vents is not possible (or allowed), feed the purge into the vents at the same time it is being fed into the hopper.
- Mixing areas are often very difficult to clean. This is a case where a chemical purge may be a good choice. Alternately, use the “disco purge” technique with mechanical purges to maximize cleaning in this area of the screw.
- Dies are often low pressure areas, and can be full of dead spots. While mechanical purges may be best for cleaning the screw and barrel, chemical purges may perform best for complex die heads. The expansion of chemical purges, due to the chemical reaction and soak time, could allow the purge to access dead spots that may not be reached by a mechanical purge.
- Raising the temperature of the die 30-55°F (15–30°C), while remaining within the service temperature range for both the resin and the purging compound, may help remove material deposits more quickly. Do not raise die temps with heat sensitive resins.
- Make sure that the specific purge compound is rated to use with the smallest clearance in your die. Most purging compound providers will have the correct grade for your clearance needs.
- To maximize pressure in the head during purging, leave screen packs or breaker plates in place during cleaning. Again, make sure the purging compound matches the tightest clearances.
- Glass-filled grades should not be passed through highly polished dies or melt/gear pumps.
- Regrind is not free.
Ready to reduce your production downtime to protect your profits? Learn more about how purging compounds and process efficiency work in tandem.


Comments